FREE Shipping Over $250! View Terms
How To
Go Back
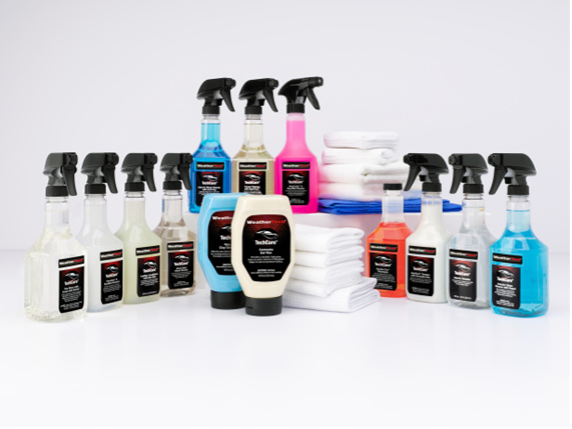
How to Refresh Your Vehicle
Want to make your current vehicle feel factory fresh again? WeatherTech shows you how to make your car look good as new with these simple tips.

How to Get Pets to Use Dog Ramps
Train your pet to use a WeatherTech Dog Ramp with just a few easy steps. Help your four-legged friend of any age access vehicles and various household areas.

How to Clean the Inside of Your Windshield
To stay safe and maintain optimal visibility, it’s important to clean the inside of your windshield. WeatherTech is here to help with a step-by-step guide.

How to WIN the Holidays This Year
WeatherTech is here to provide you with a comprehensive guide to conquer the 2025 holiday season. Explore the best gifts to get for friends, family, and more.

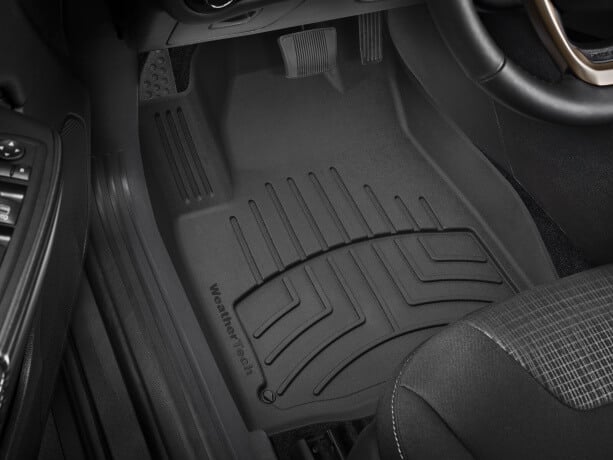
WeatherTech FloorLiner Detailing 101
Your front floor mats are bound to be the dirtiest part of your entire vehicle. Follow along for the tools and steps needed to get the best clean possible.

How to Clean and Organize Your Trunk
Read these tips about how to keep your vehicle's trunk organized. Simplify keeping your cargo area neat and clean with this step-by-step guide from WeatherTech.

How to Organize Your Car and Home
Our vehicles are an extension of our home. Let WeatherTech products assist you with easy ways to keep both your car and home organized and clutter-free.

How To Spring Clean Your Car
WeatherTech is here for all your automotive spring-cleaning needs! Use this guide and browse the latest TechCare products to make sure your vehicle is ready for warmer weather.
How to Detail Your Car on a Budget
Love the look of your car after it’s been professionally detailed, but hate the expense? Detail your car yourself with TechCare products made to fit your budget.
Customize Your Vehicle: Make Your Car Your Own
Sometimes what’s available from the factory isn’t quite what you imagined. Explore options to customize your vehicle and make your car your own with WeatherTech.

How Does WeatherTech Define the Auto Industry?
WeatherTech has the most comprehensive vehicle applications among competitors, providing unmatched availability for long time vehicle owners as well as brand new models.

How to Get Into the Sport of Racing
Beginning your career in race car driving will require much of your time and money, but it’s certainly worth it. Check out these tips on how to get started.